Installing and Using GNOME Builder on openSUSE Tumbleweed
This is English version of https://opensuse.id/2017/04/16/memasang-dan-menggunakan-gnome-builder-pada-opensuse-tumbleweed/, but i’m sorry that the screenshot in Indonesia.
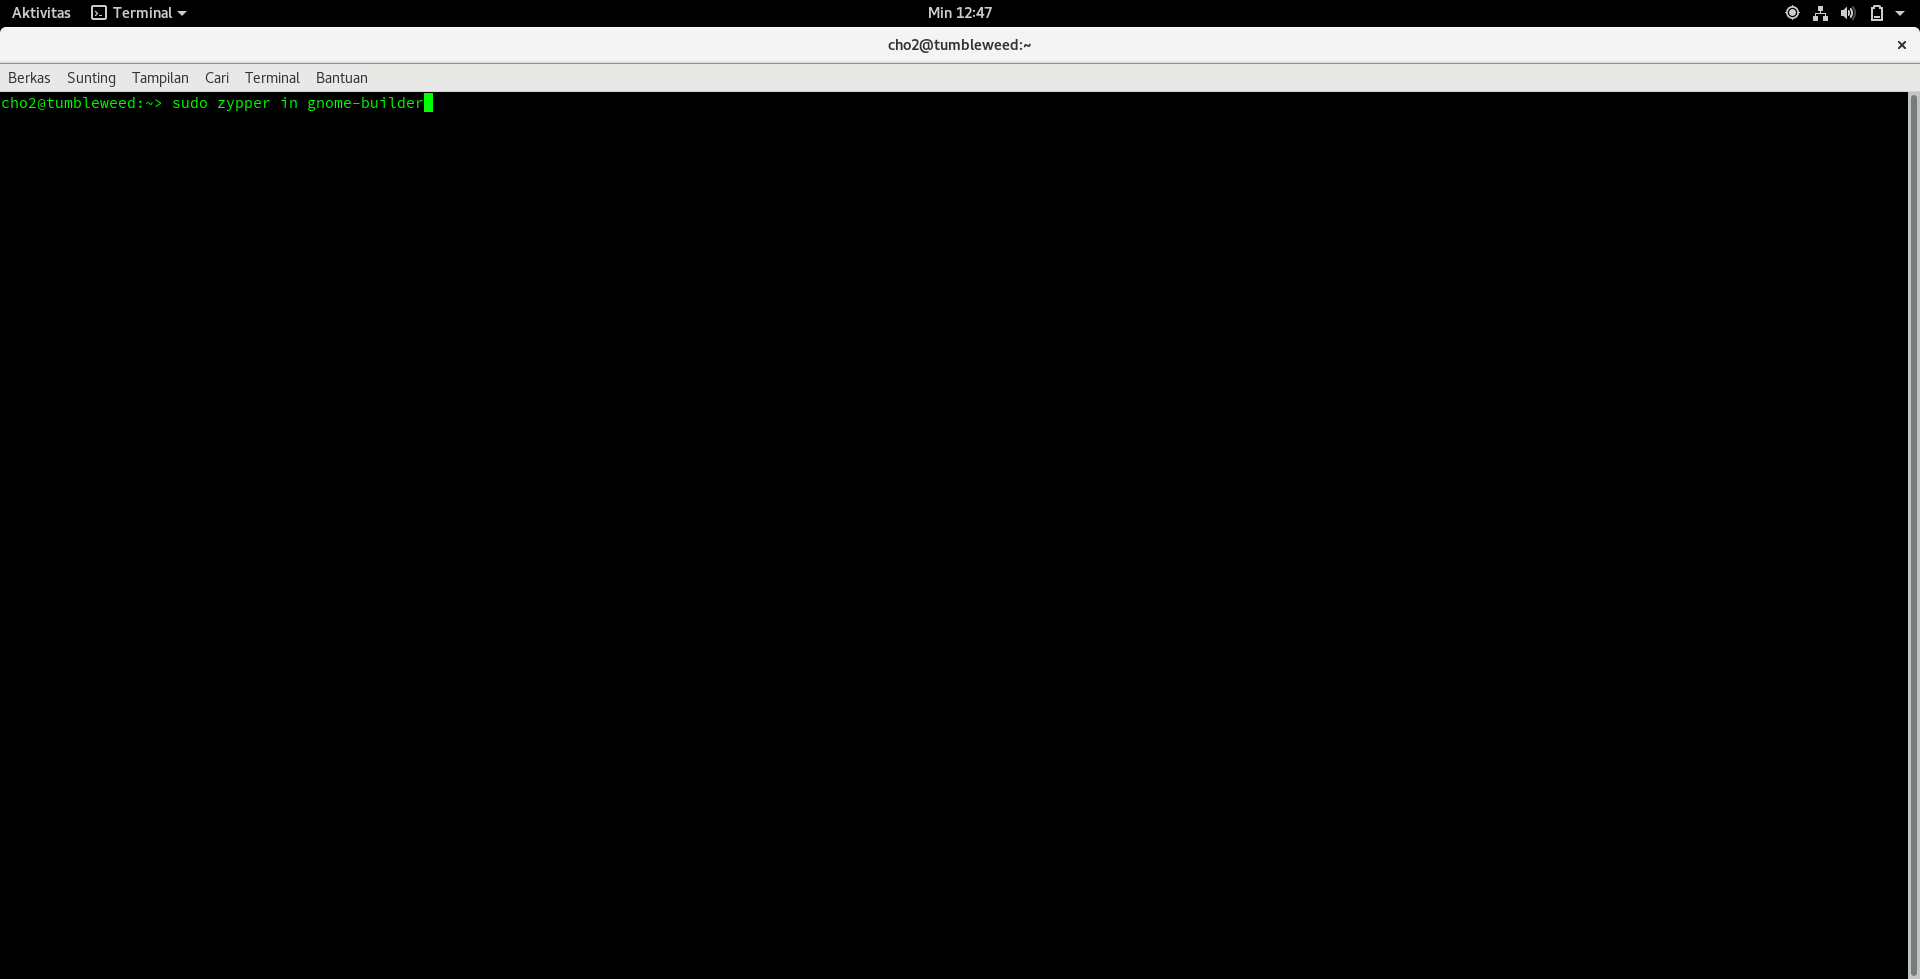
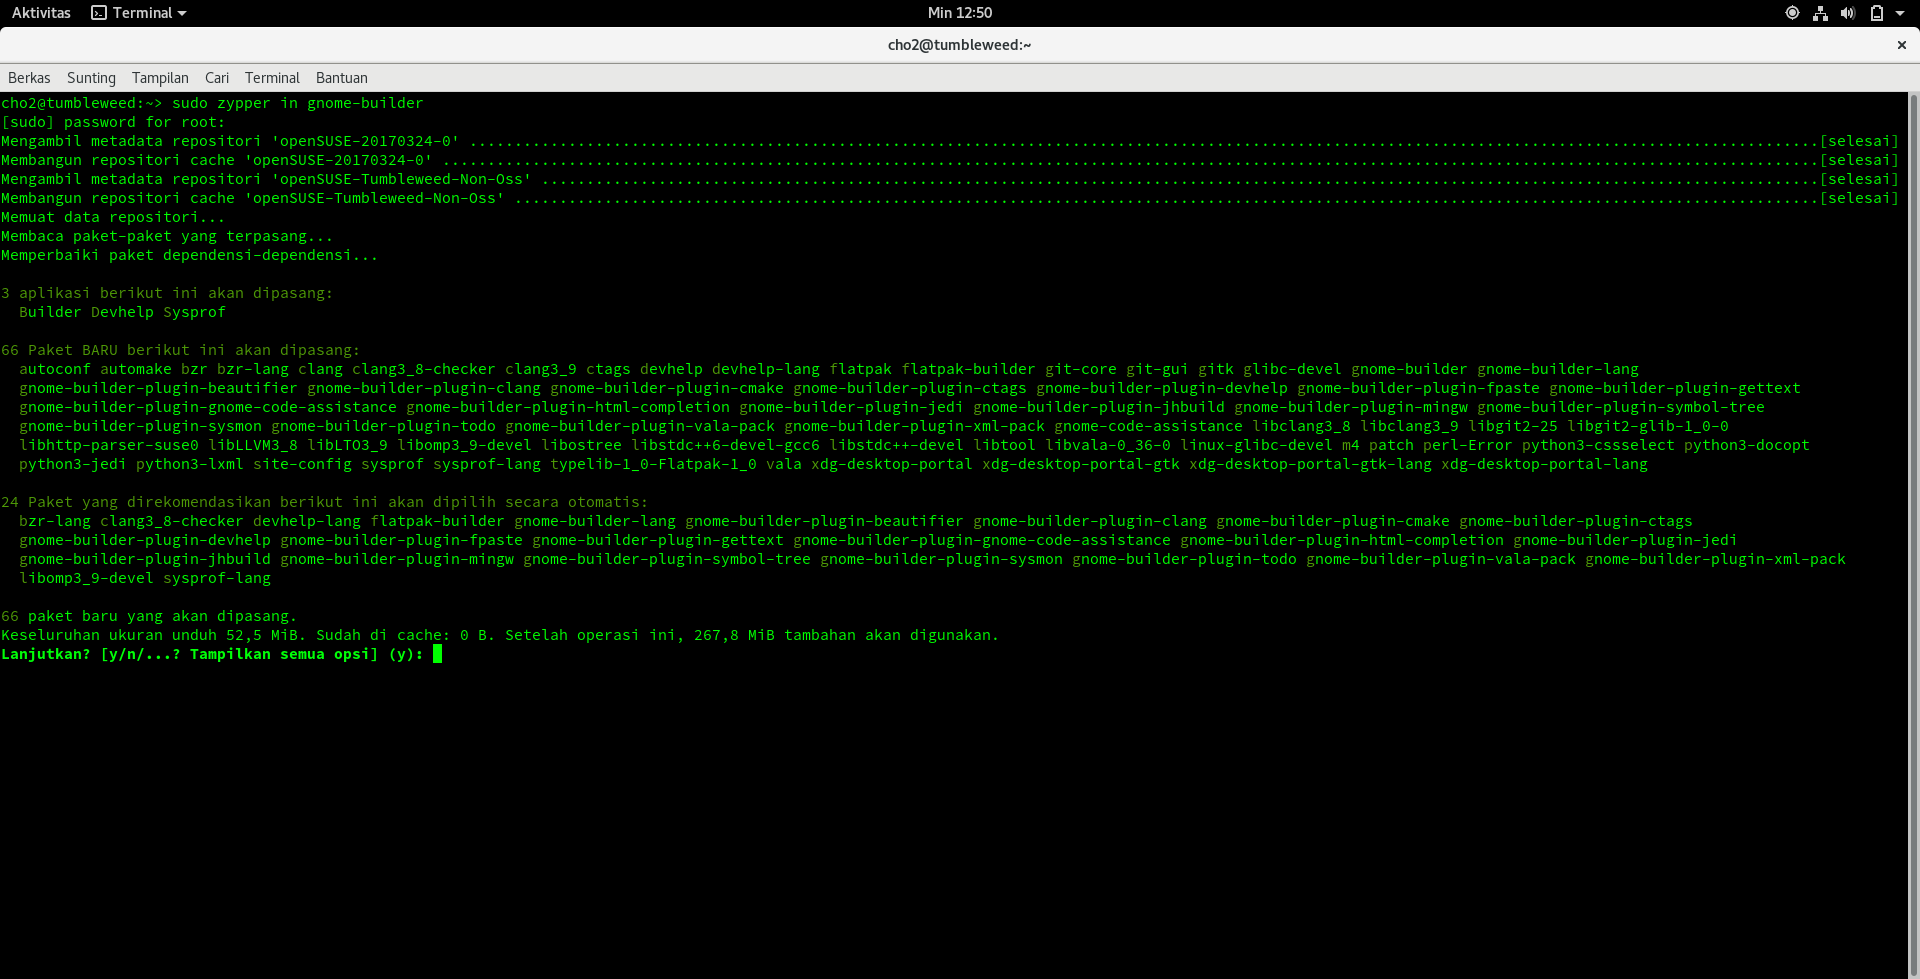
Actually this guide refers to the following article: https://csorianognome.wordpress.com/2017/04/07/the-new-contribution-workflow-for-gnome/. The first thing to do is of course installing GNOME Builder. Make sure you’re using the GNOME desktop. The installation process is more or less like in the following picture. Just type sudo zypper in gnome-builder at your favorite terminal.
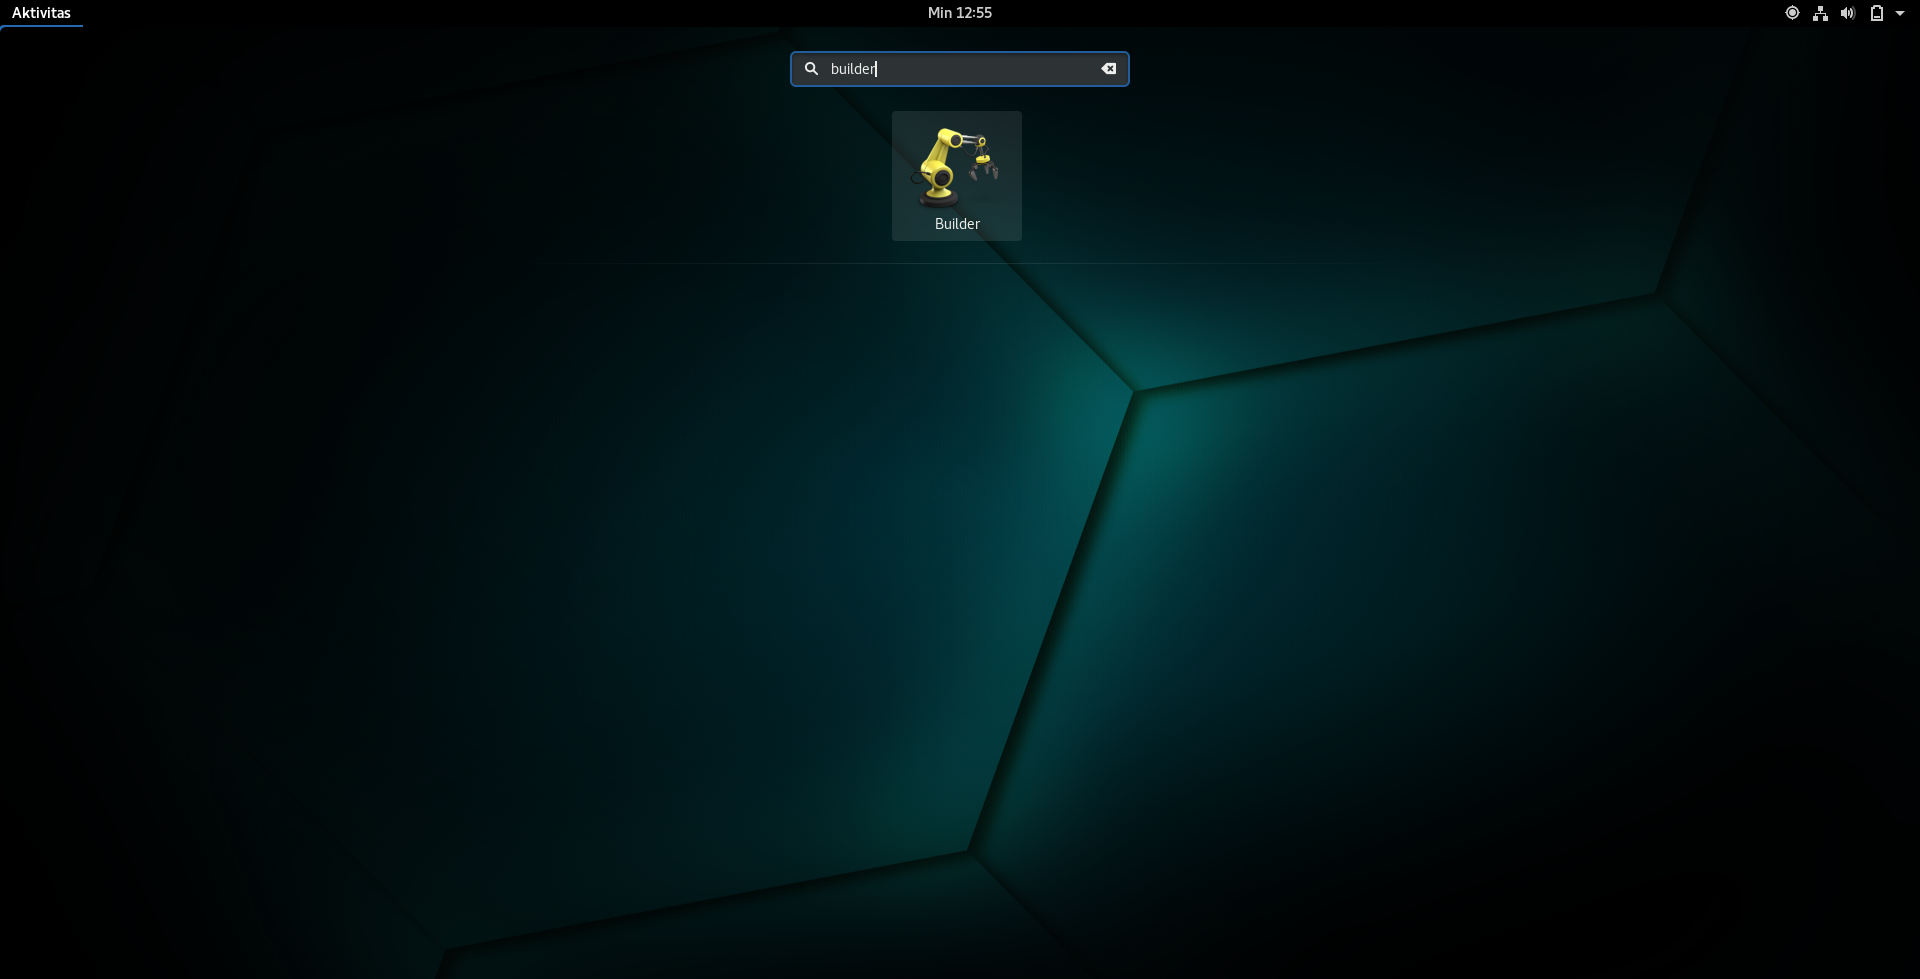
Then open GNOME Builder.
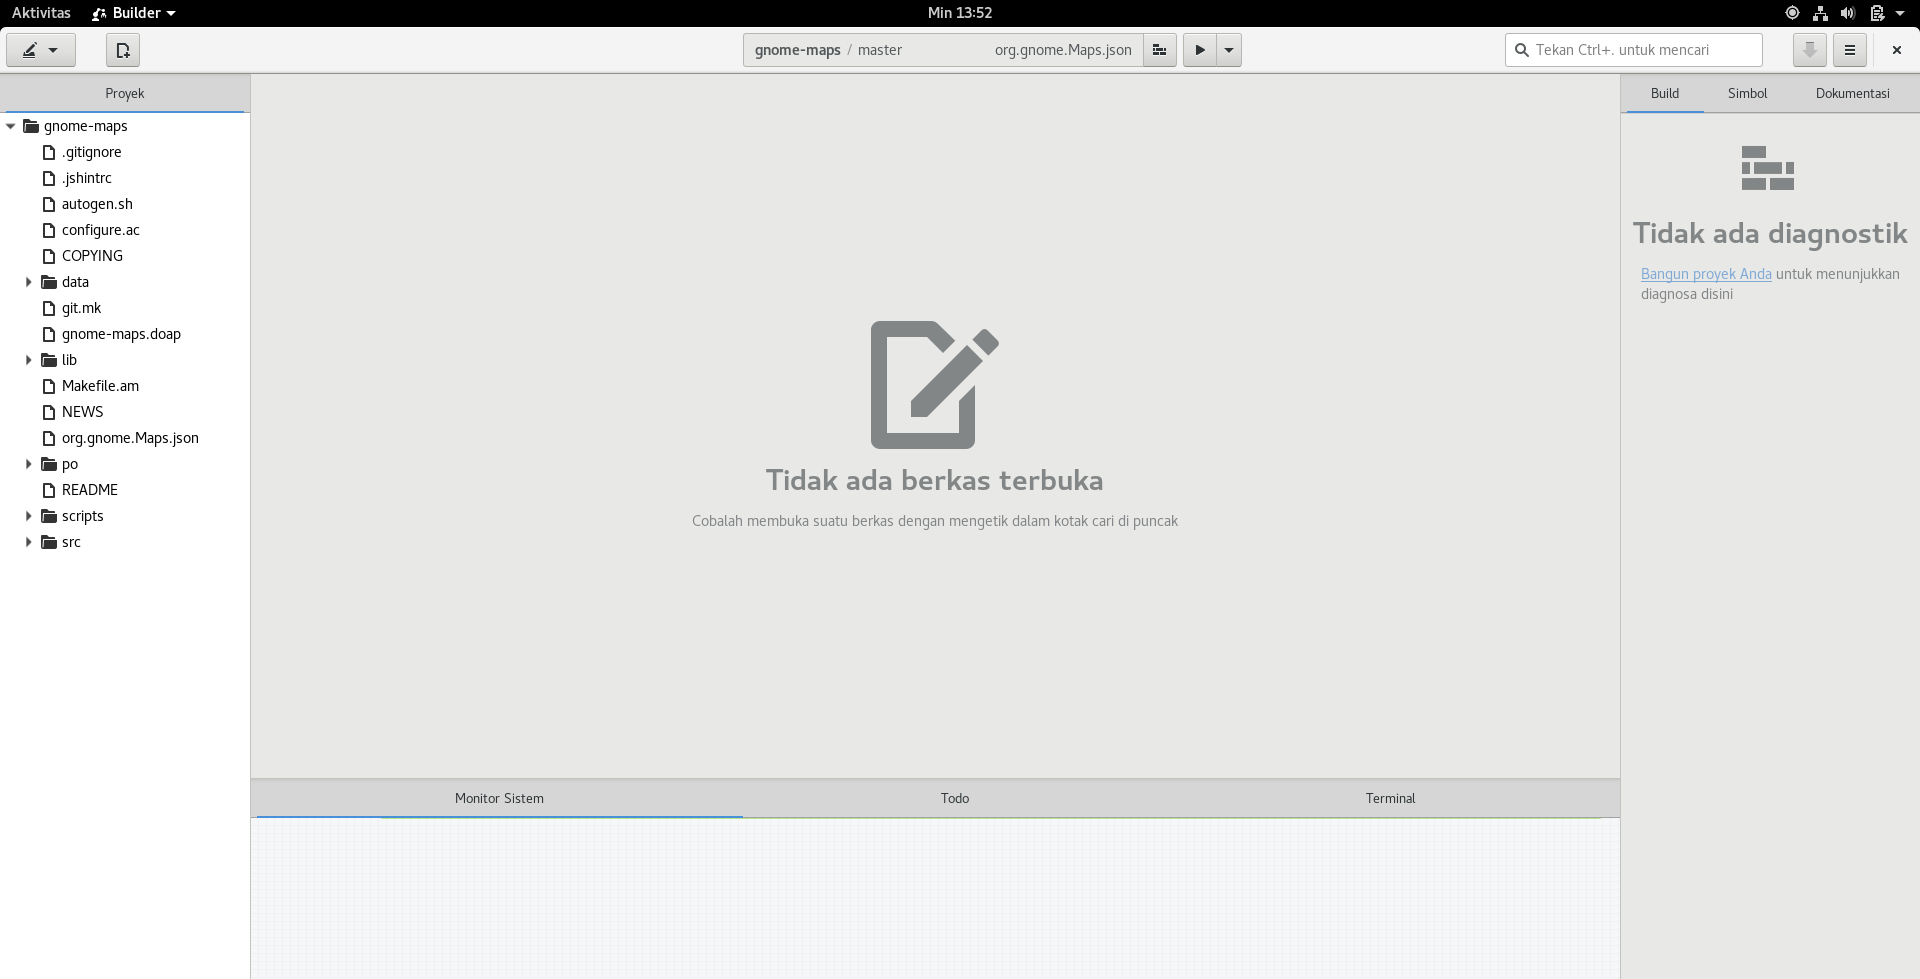
The GNOME Builder window will appear as follows.
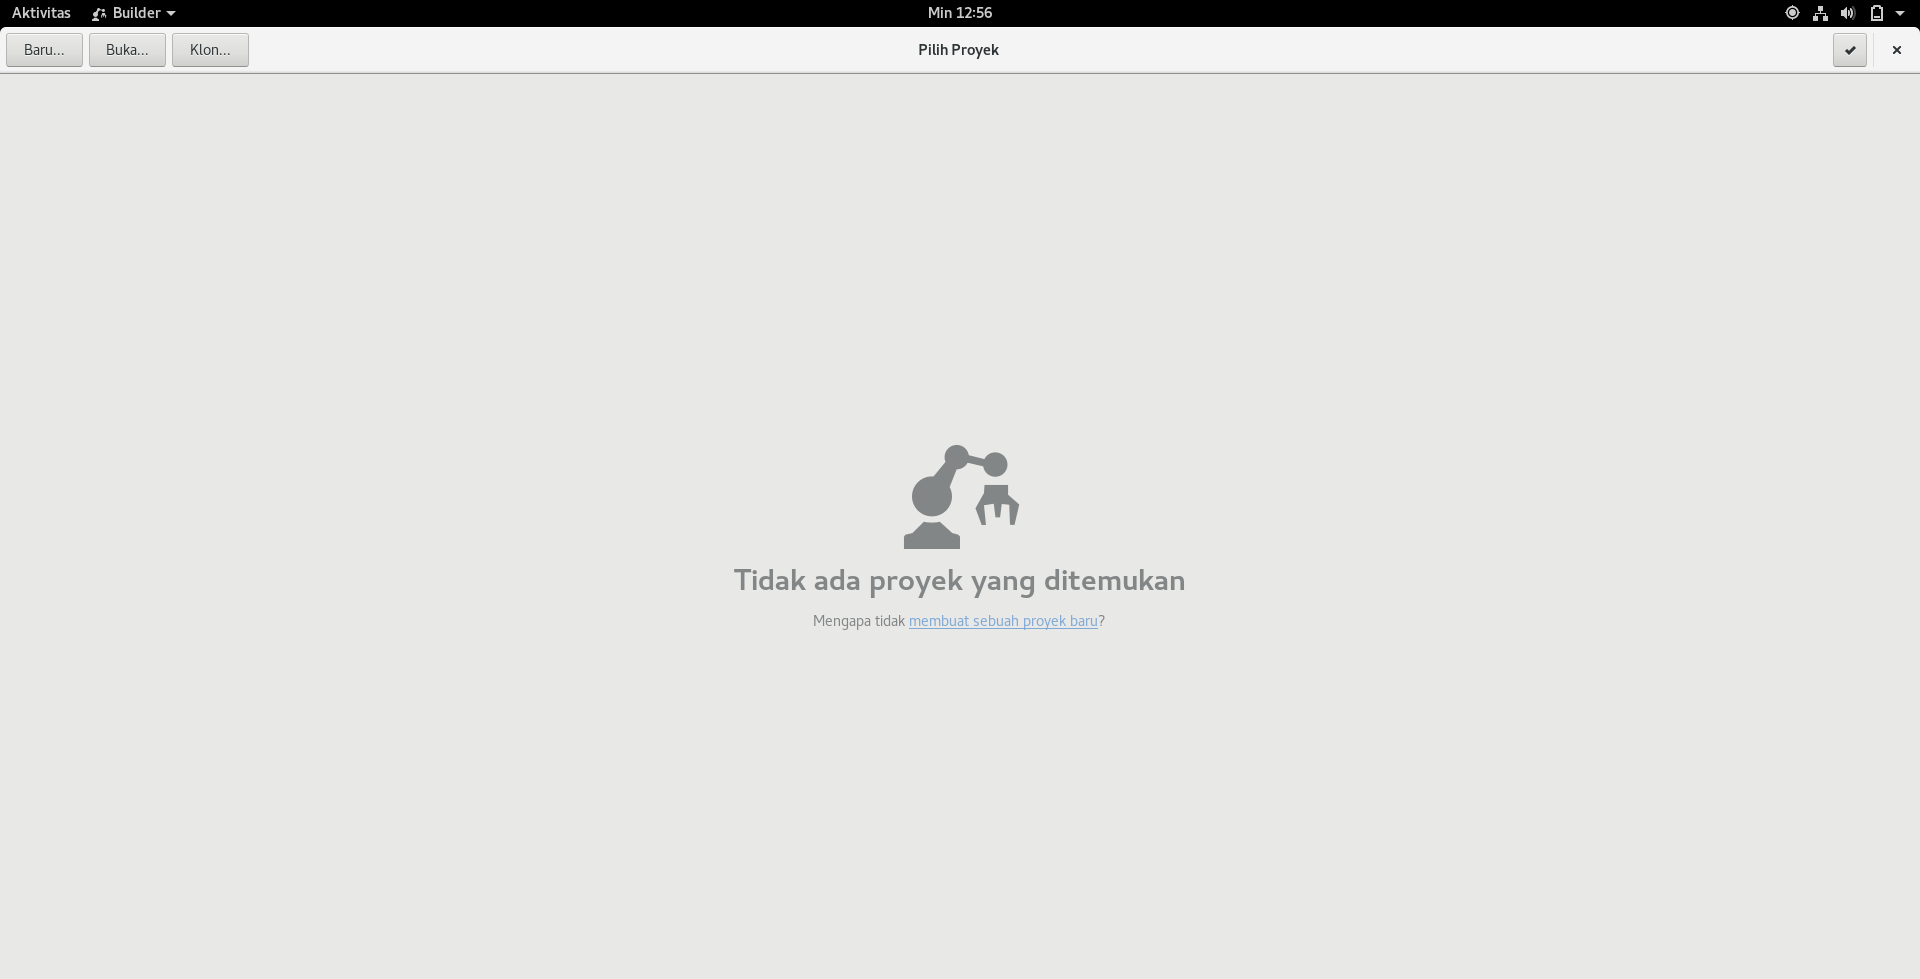
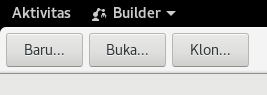
GNOME has its own git repository located at https://git.gnome.org. We will try to clone a repository and try to build it. Press the “Clone …” button.
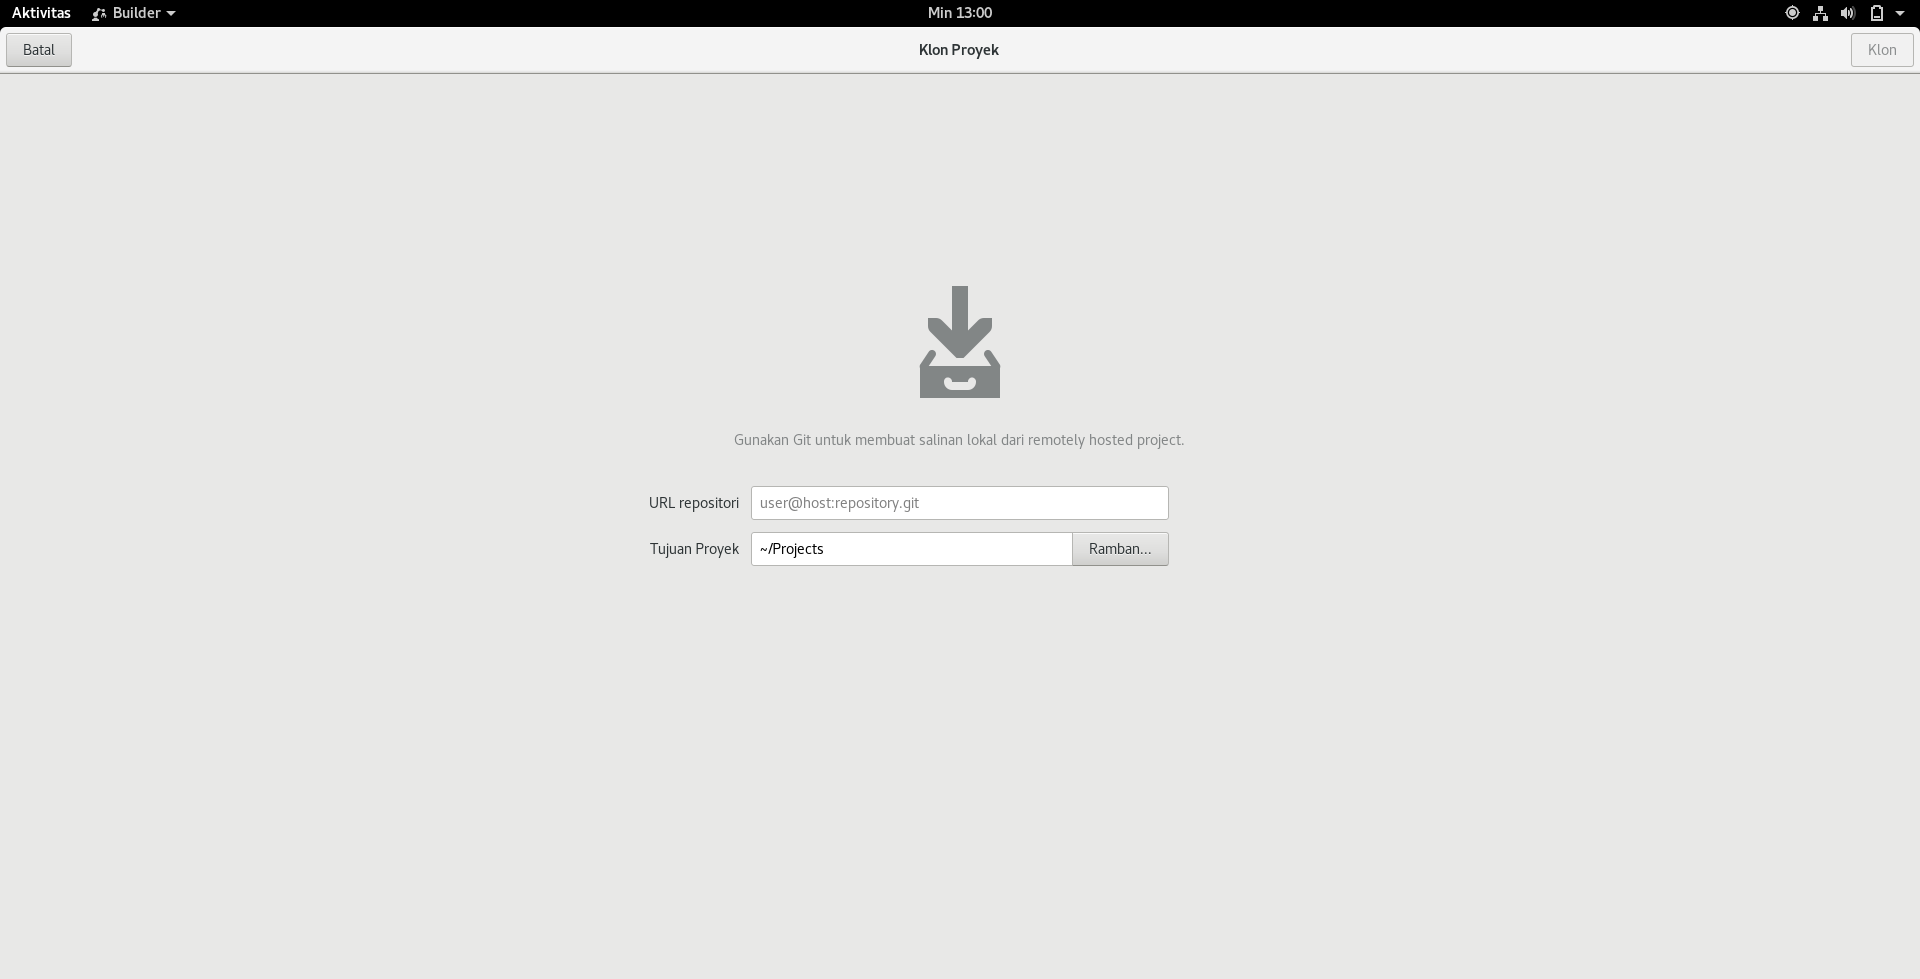
Enter the URL of the repository to be cloned.
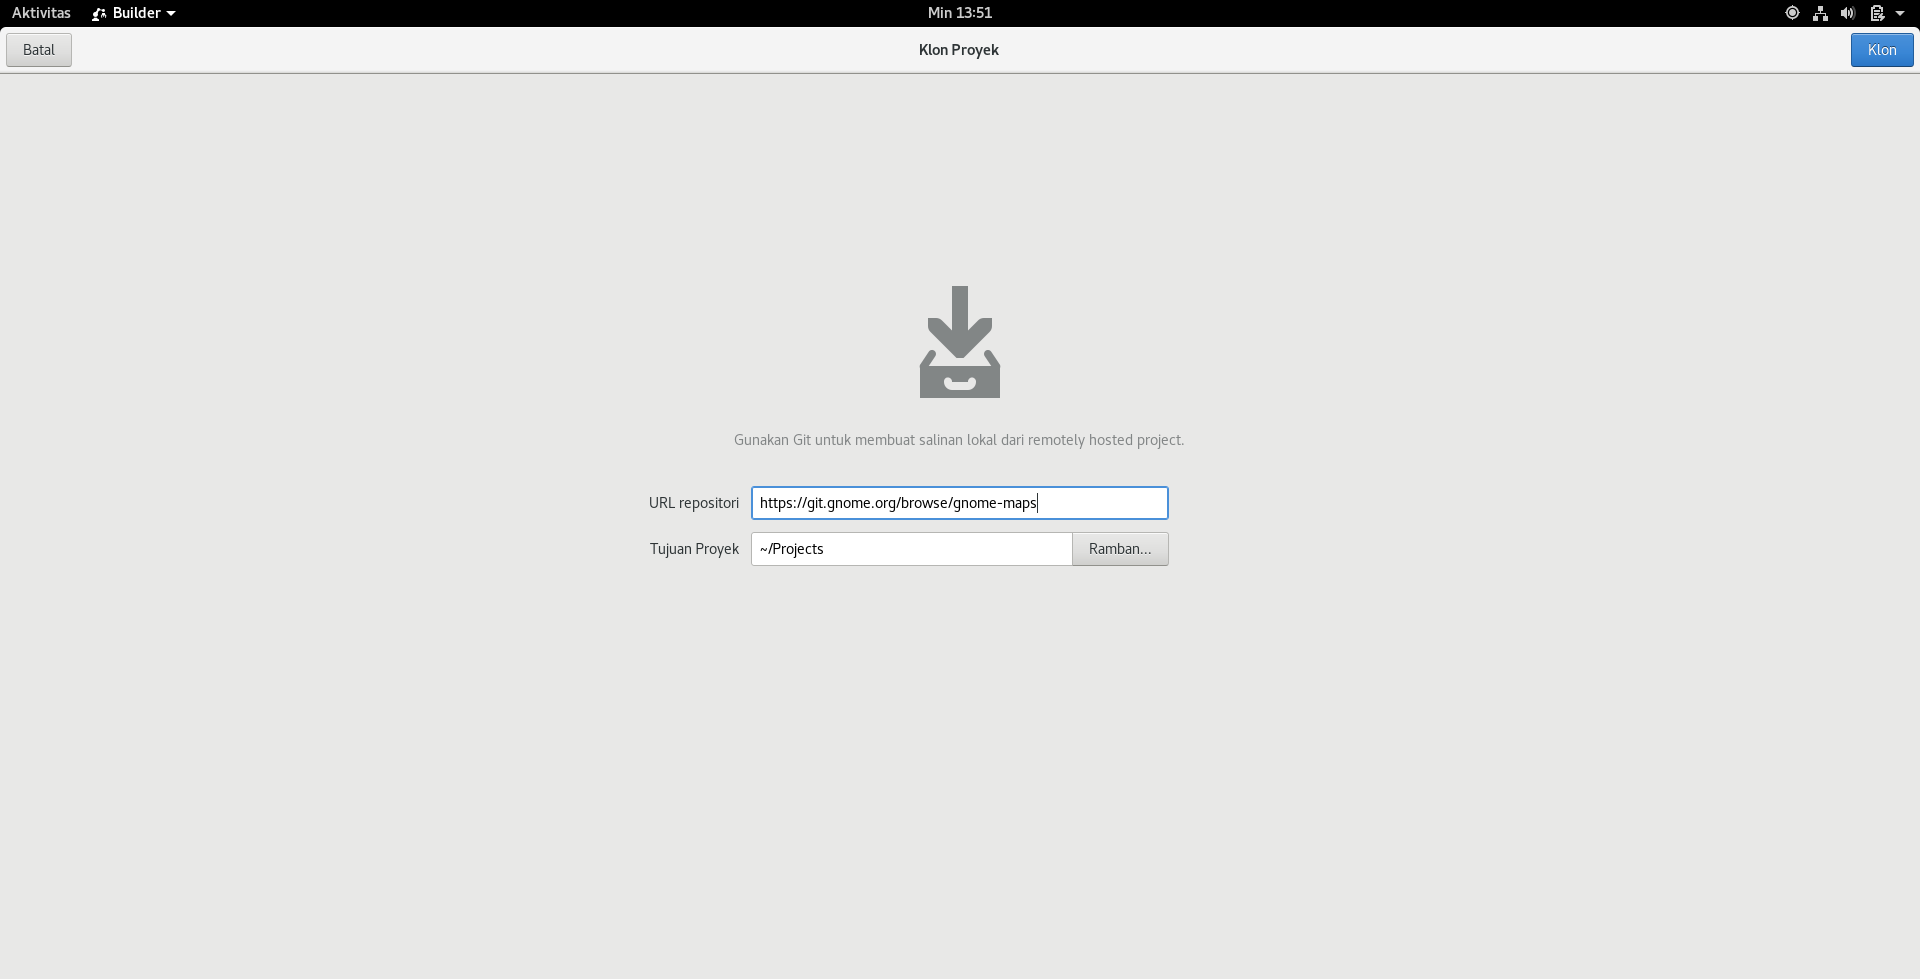
For example, the repository to be cloned is GNOME Maps (https://git.gnome.org/browse/gnome-maps) with the git address https://git.gnome.org/browse/maps. Enter the URL address as shown below, then press the blue “Clone” button on the top right.
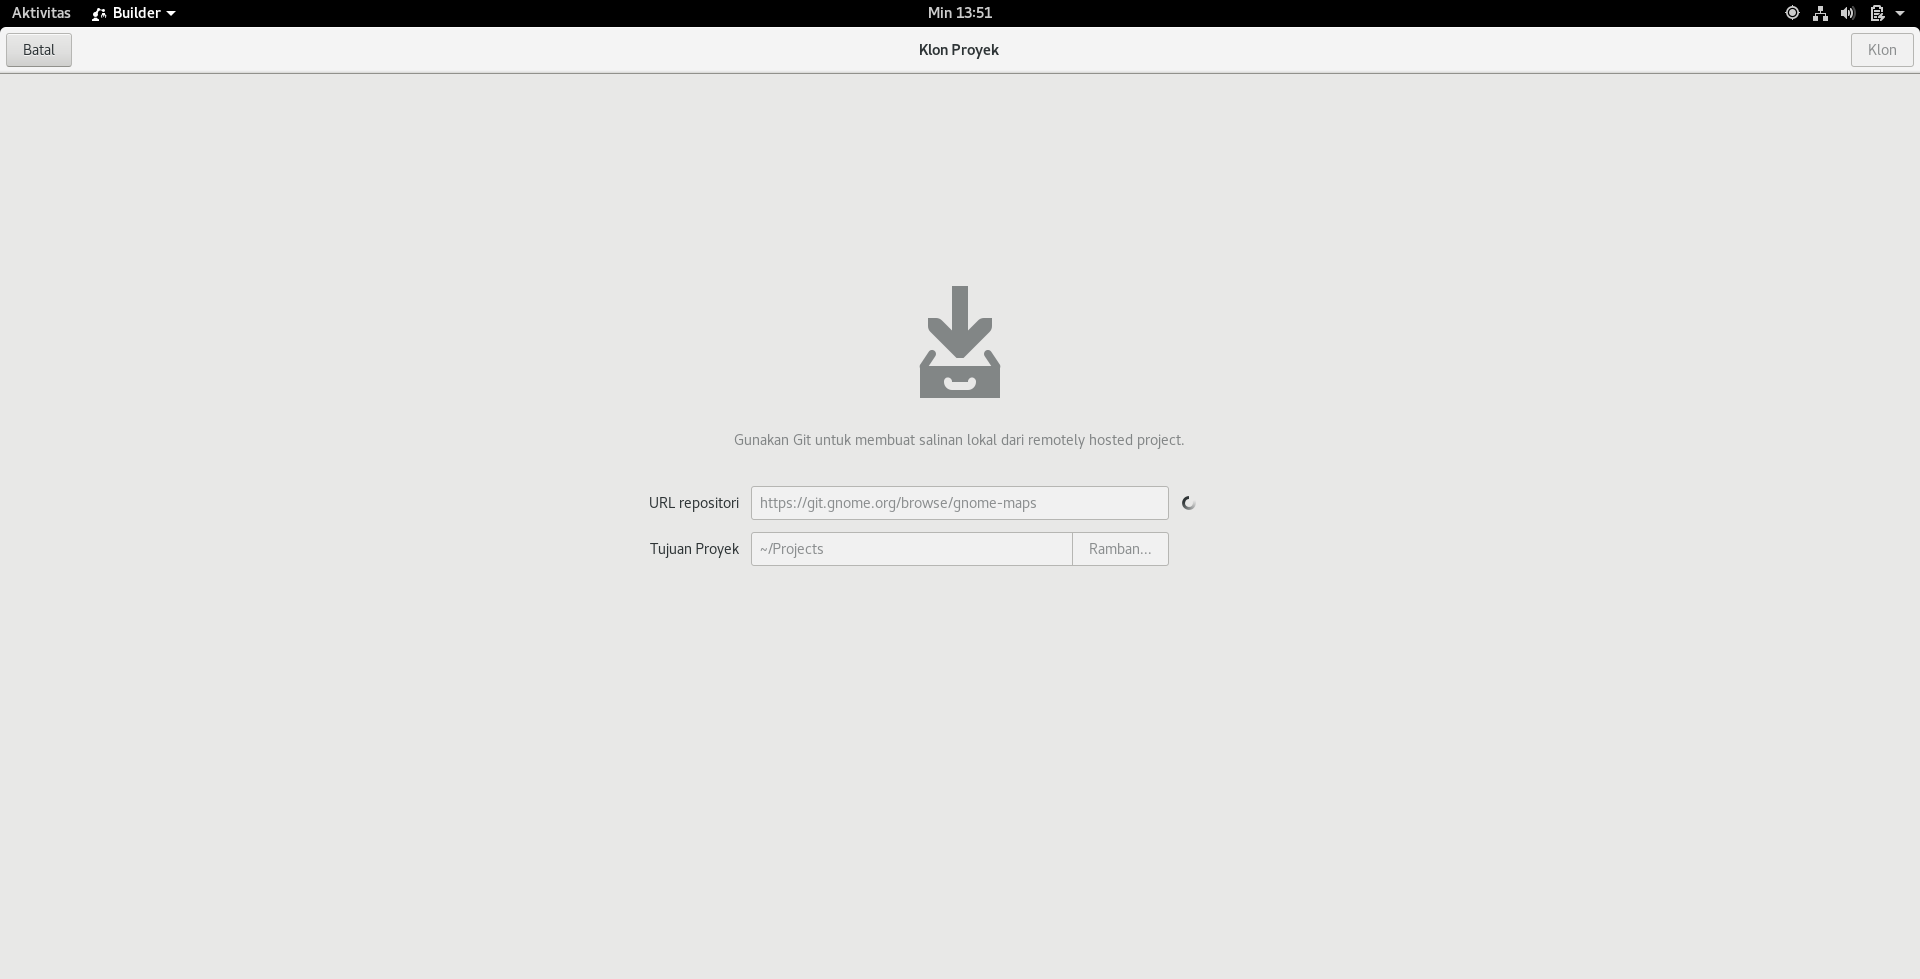
The clone process will take place. PS: This process may take a long time (depending on the size of the repository being localized, such as the git clone process in git)
Once the clone process is complete, the GNOME Builder view will look like the following.
Click on the omnibar will appear as follows.
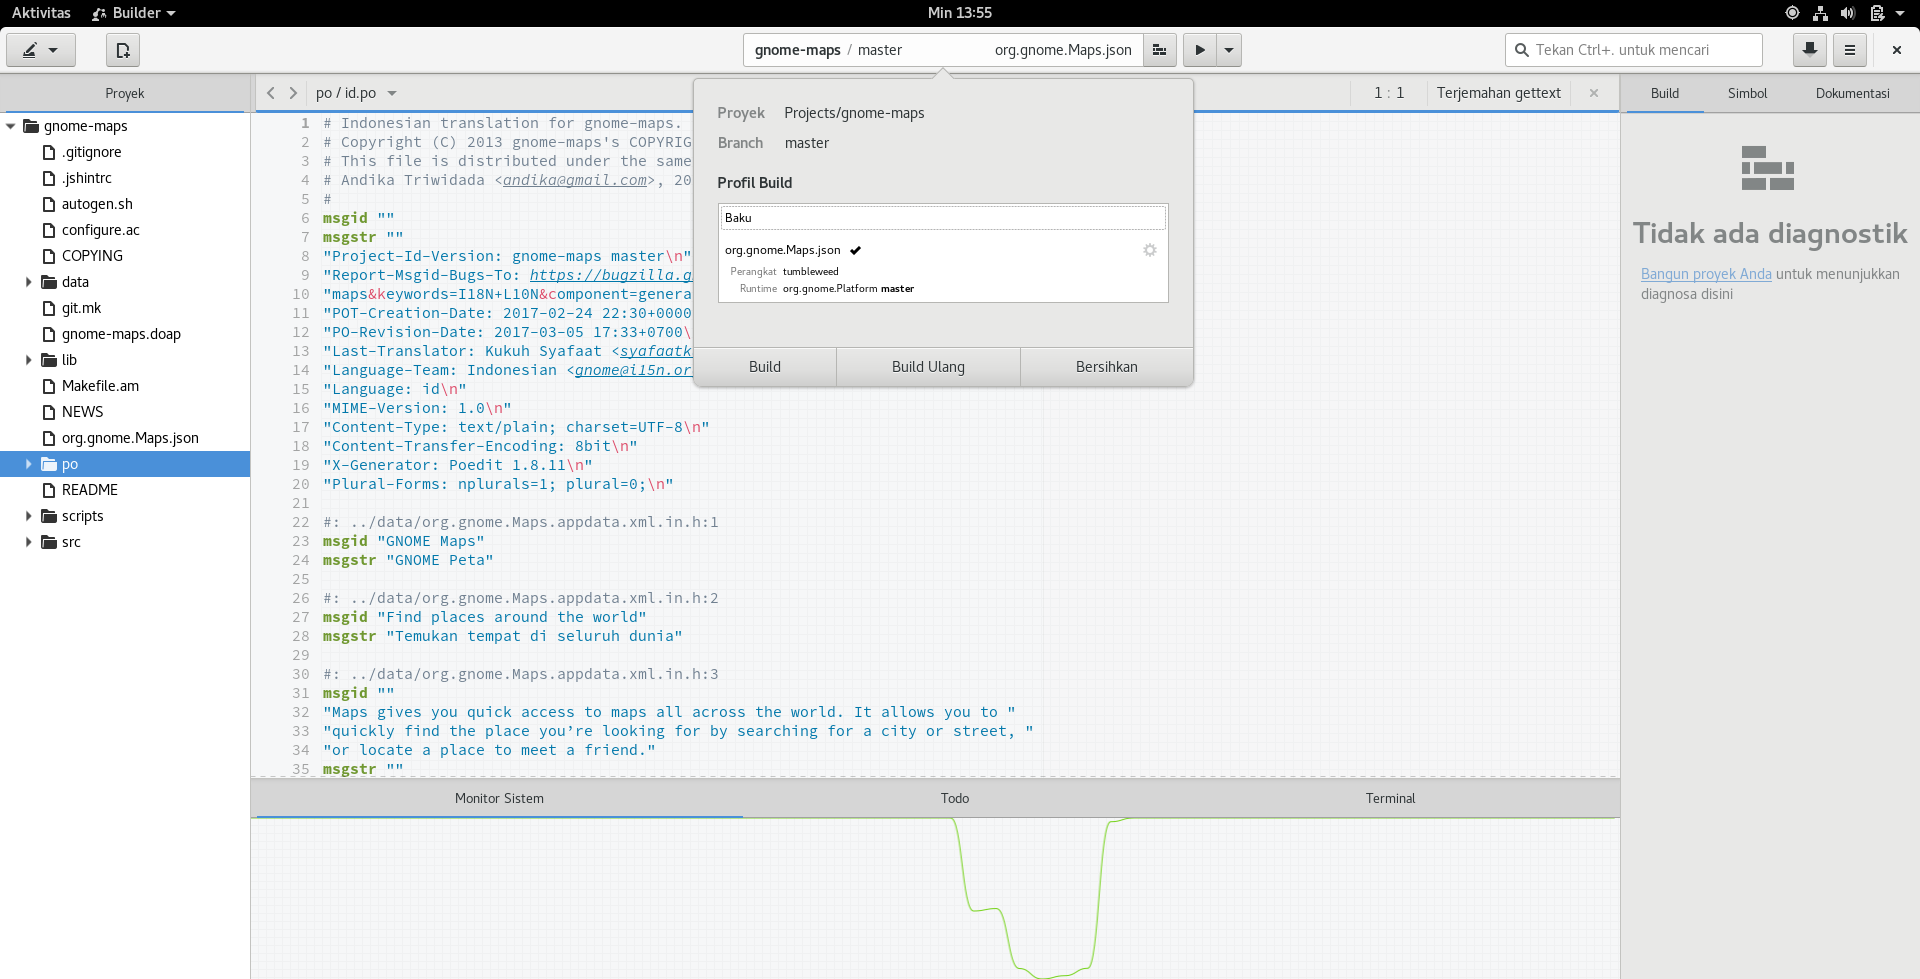
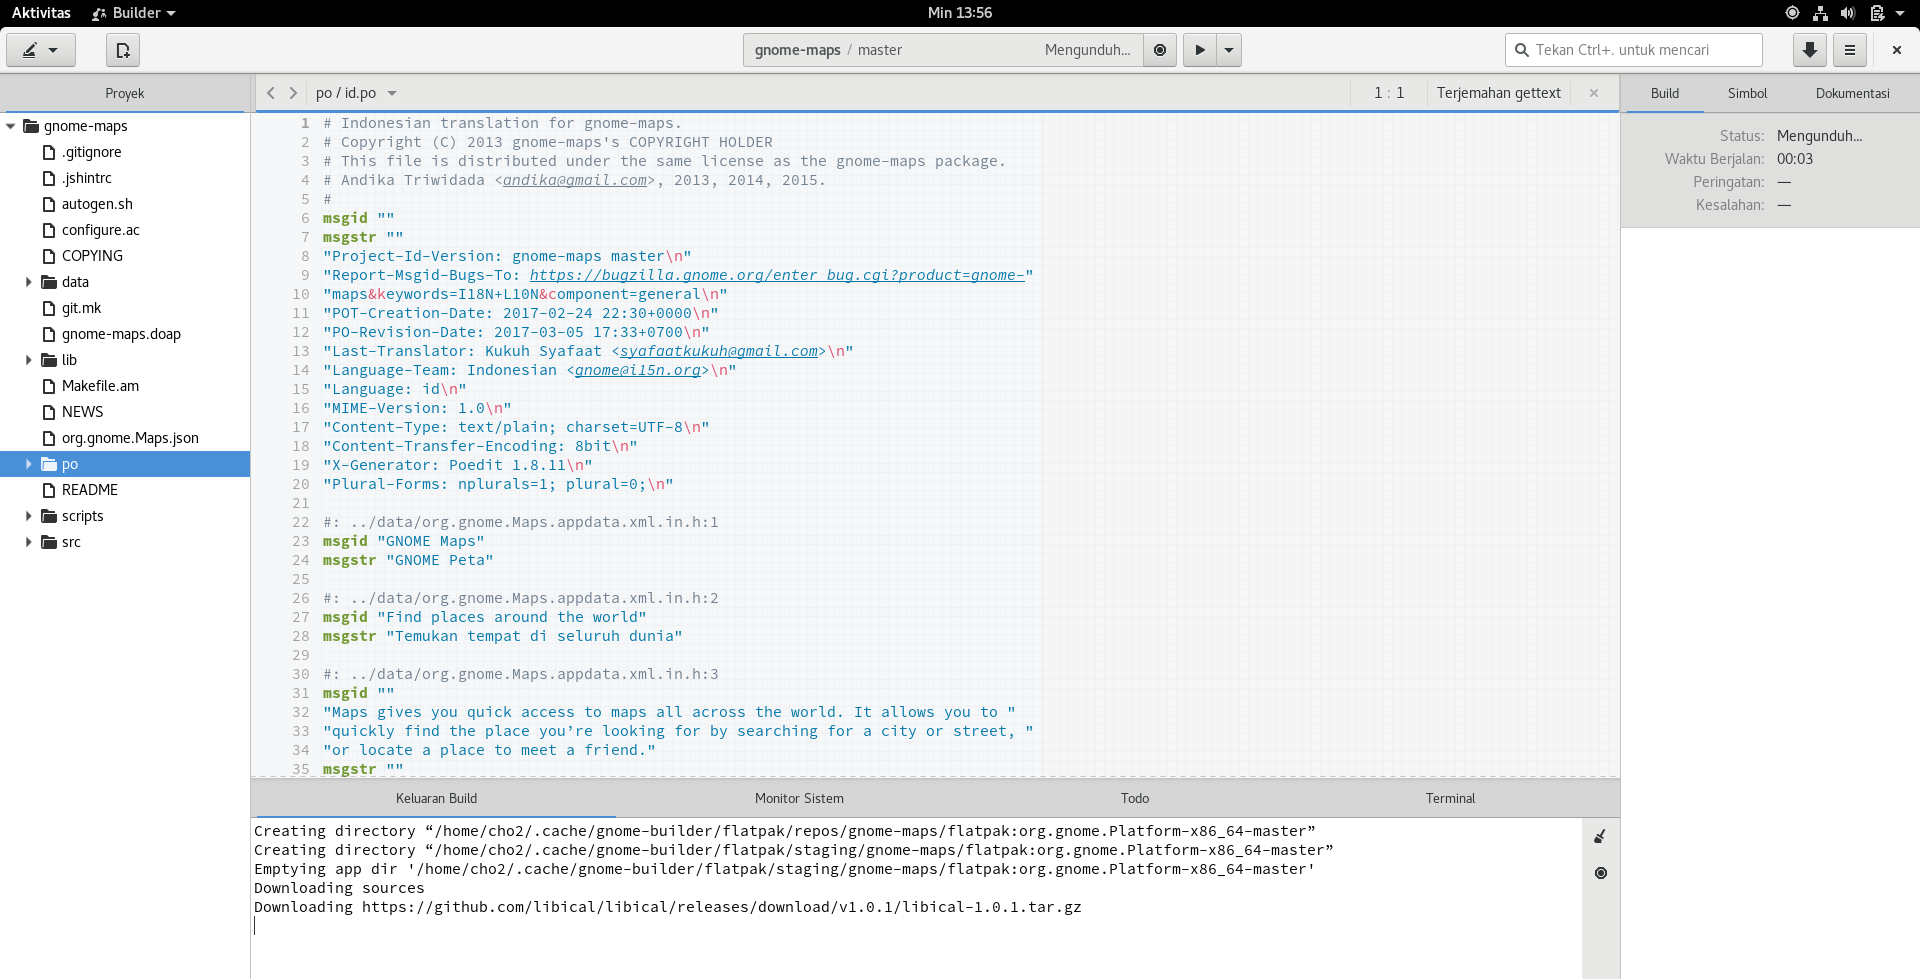
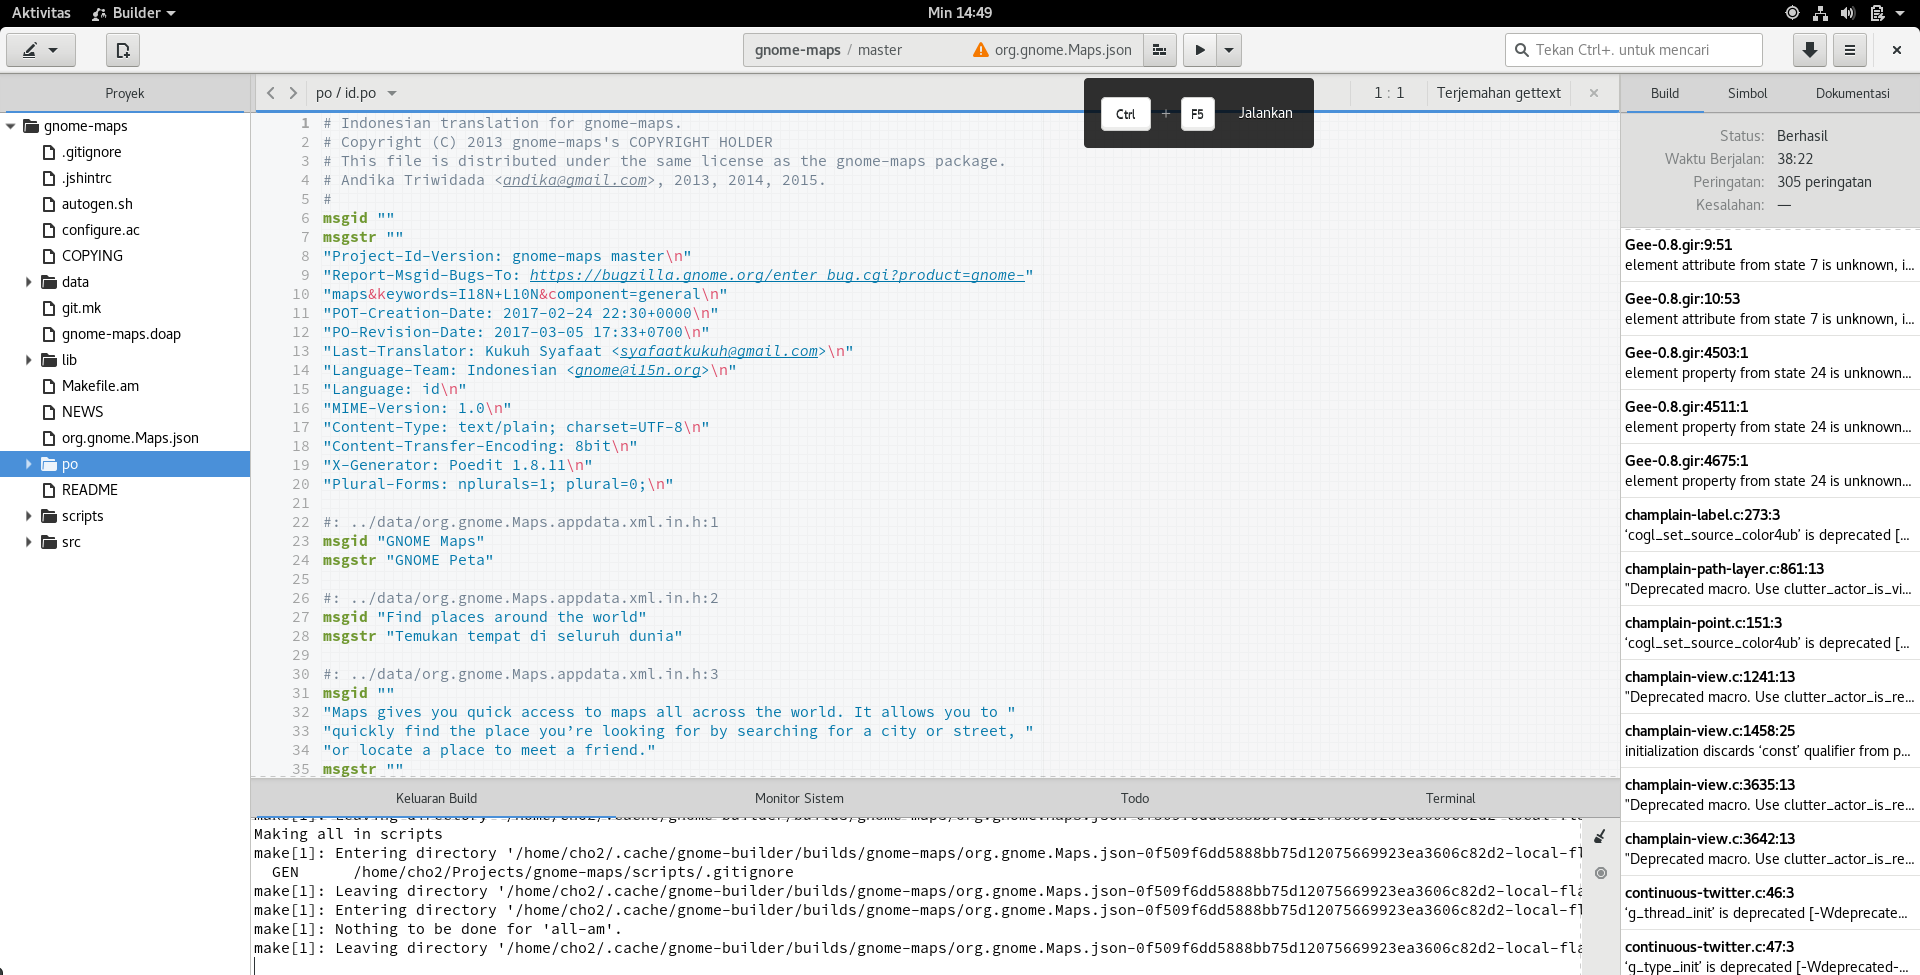
We will try to build GNOME Maps using GNOME Builder. In the picture above, click the “Build” button. Then the process of building GNOME Maps will run like the picture below. PS: This process may take a long time (2).
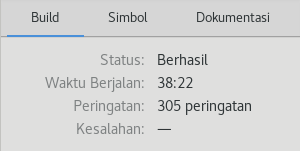
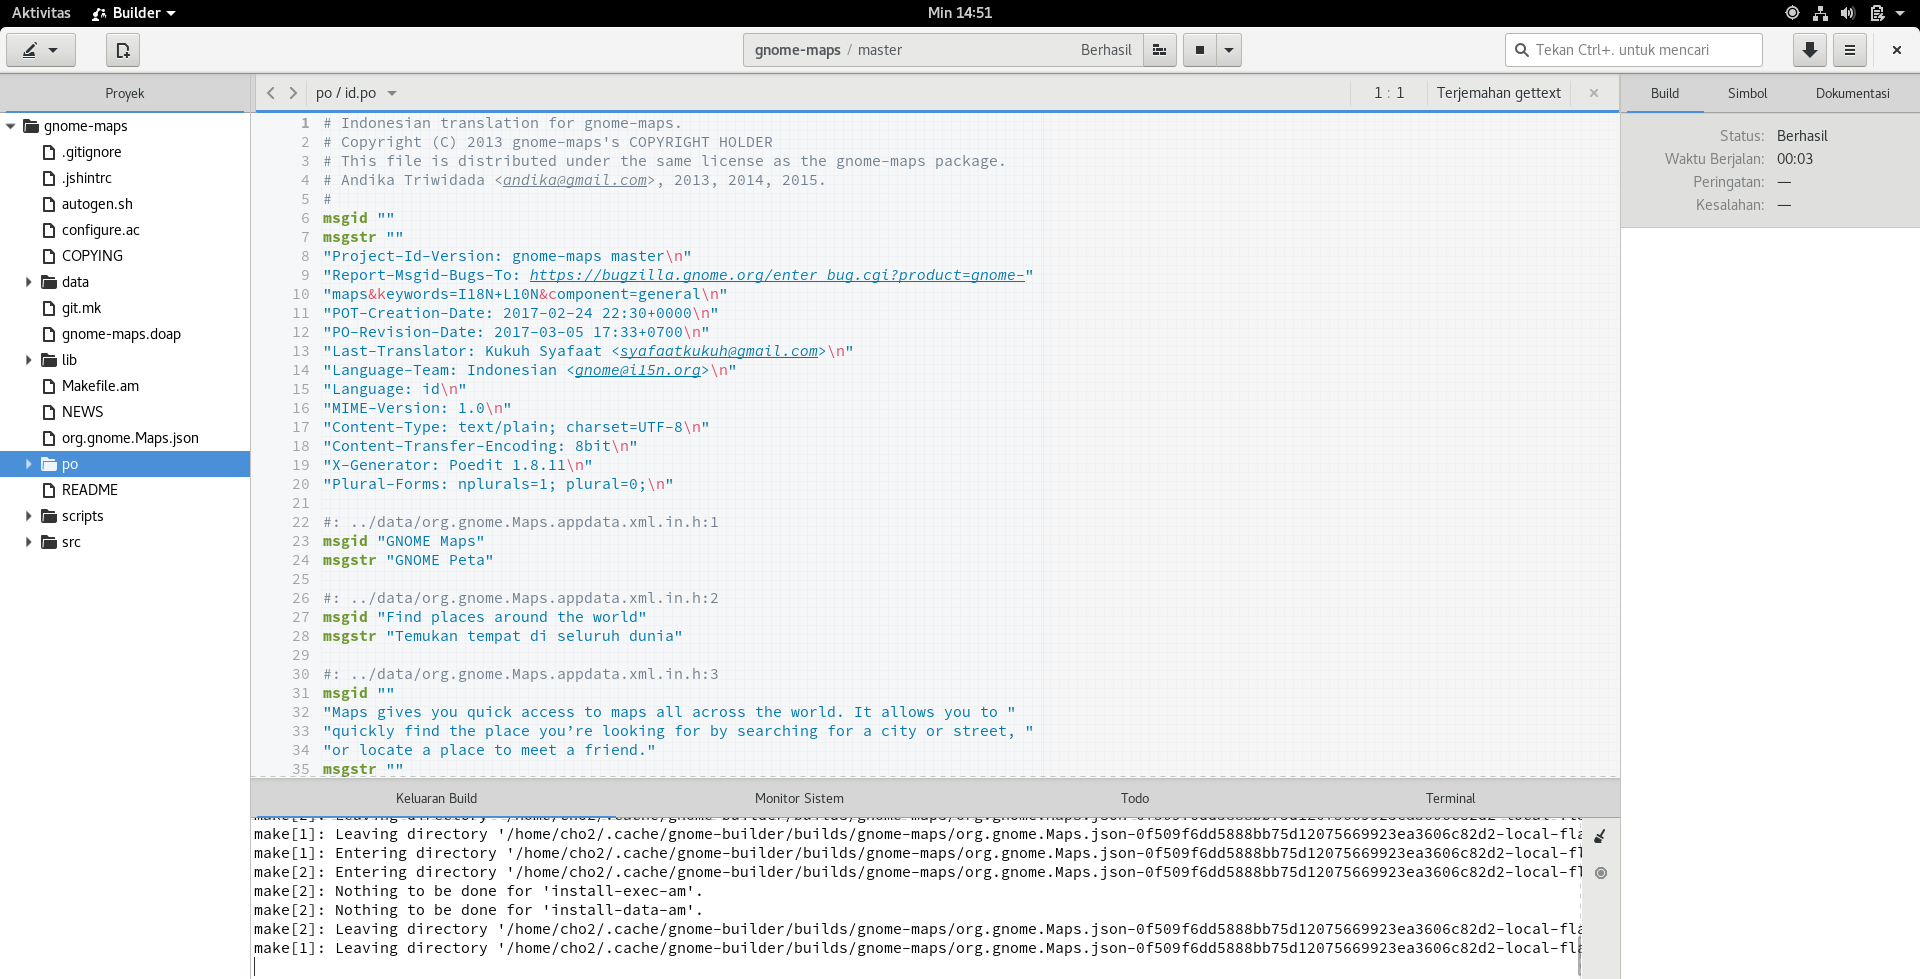
After the build process is successful, the display will be as follows.
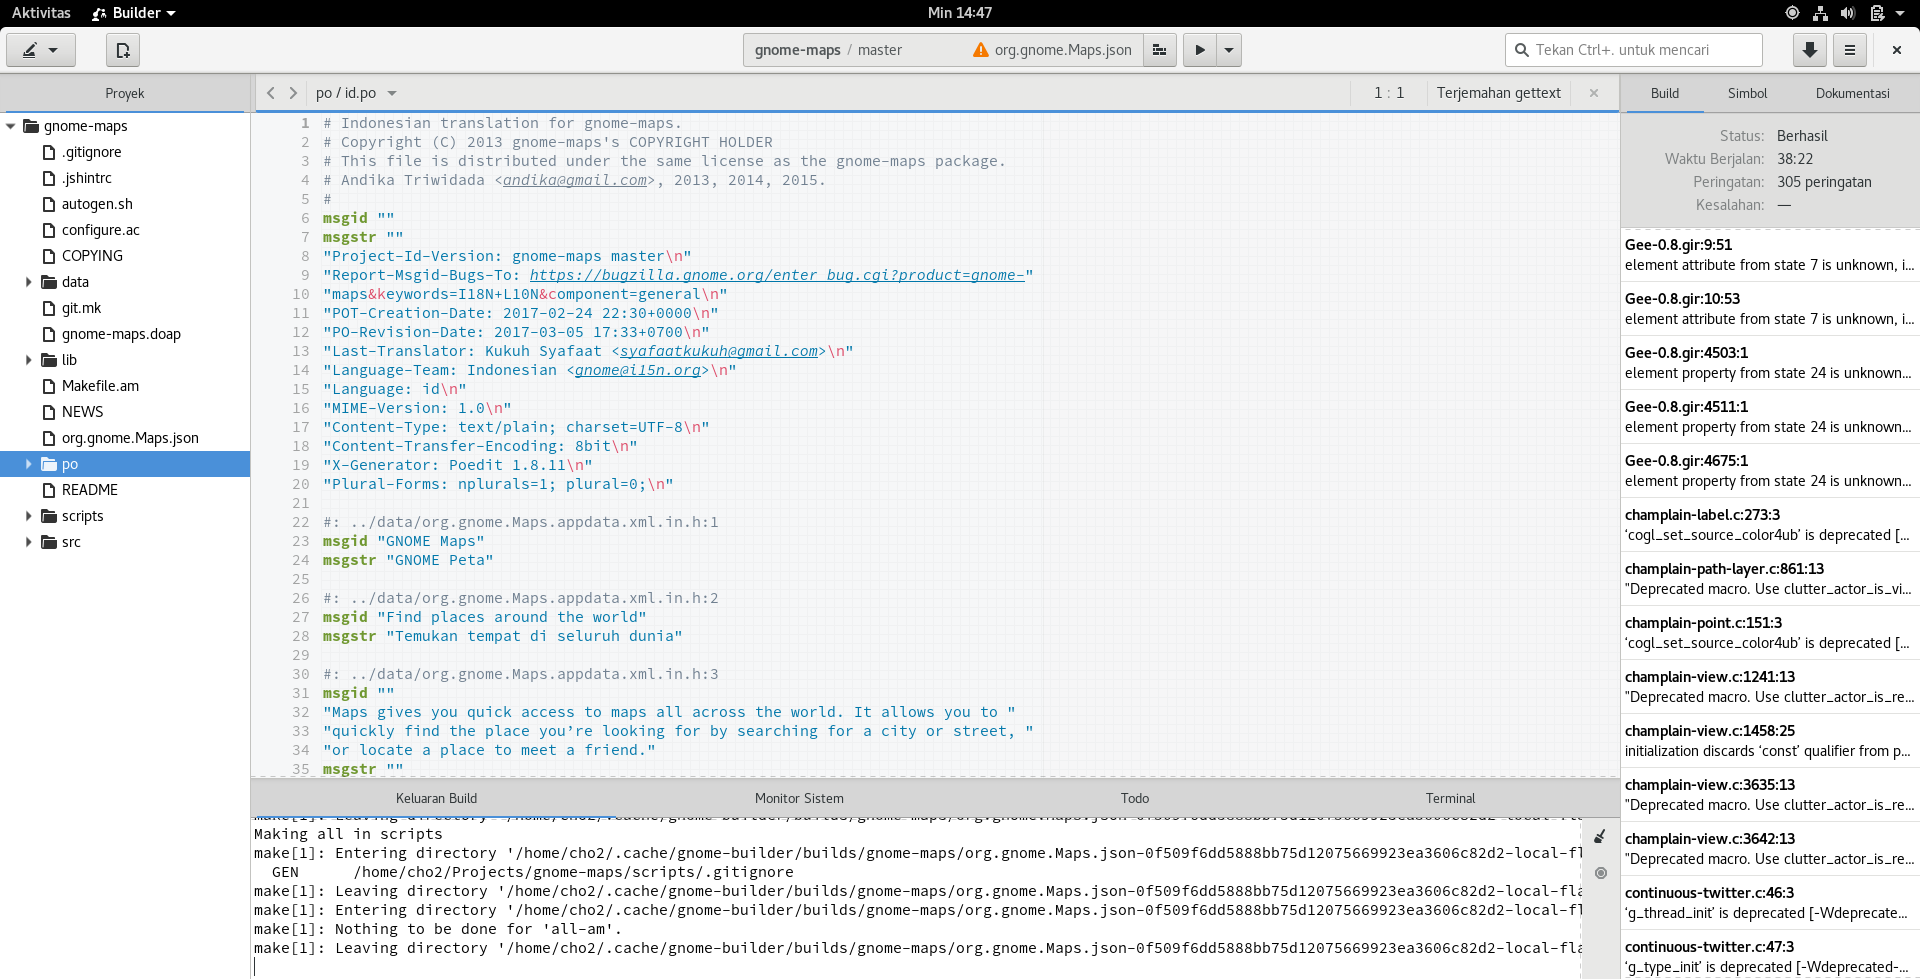
At the top right, it appears that the build process is successful.
To try the build result, press the button with the play icon as shown below.
The installation process will run (see Build Output).
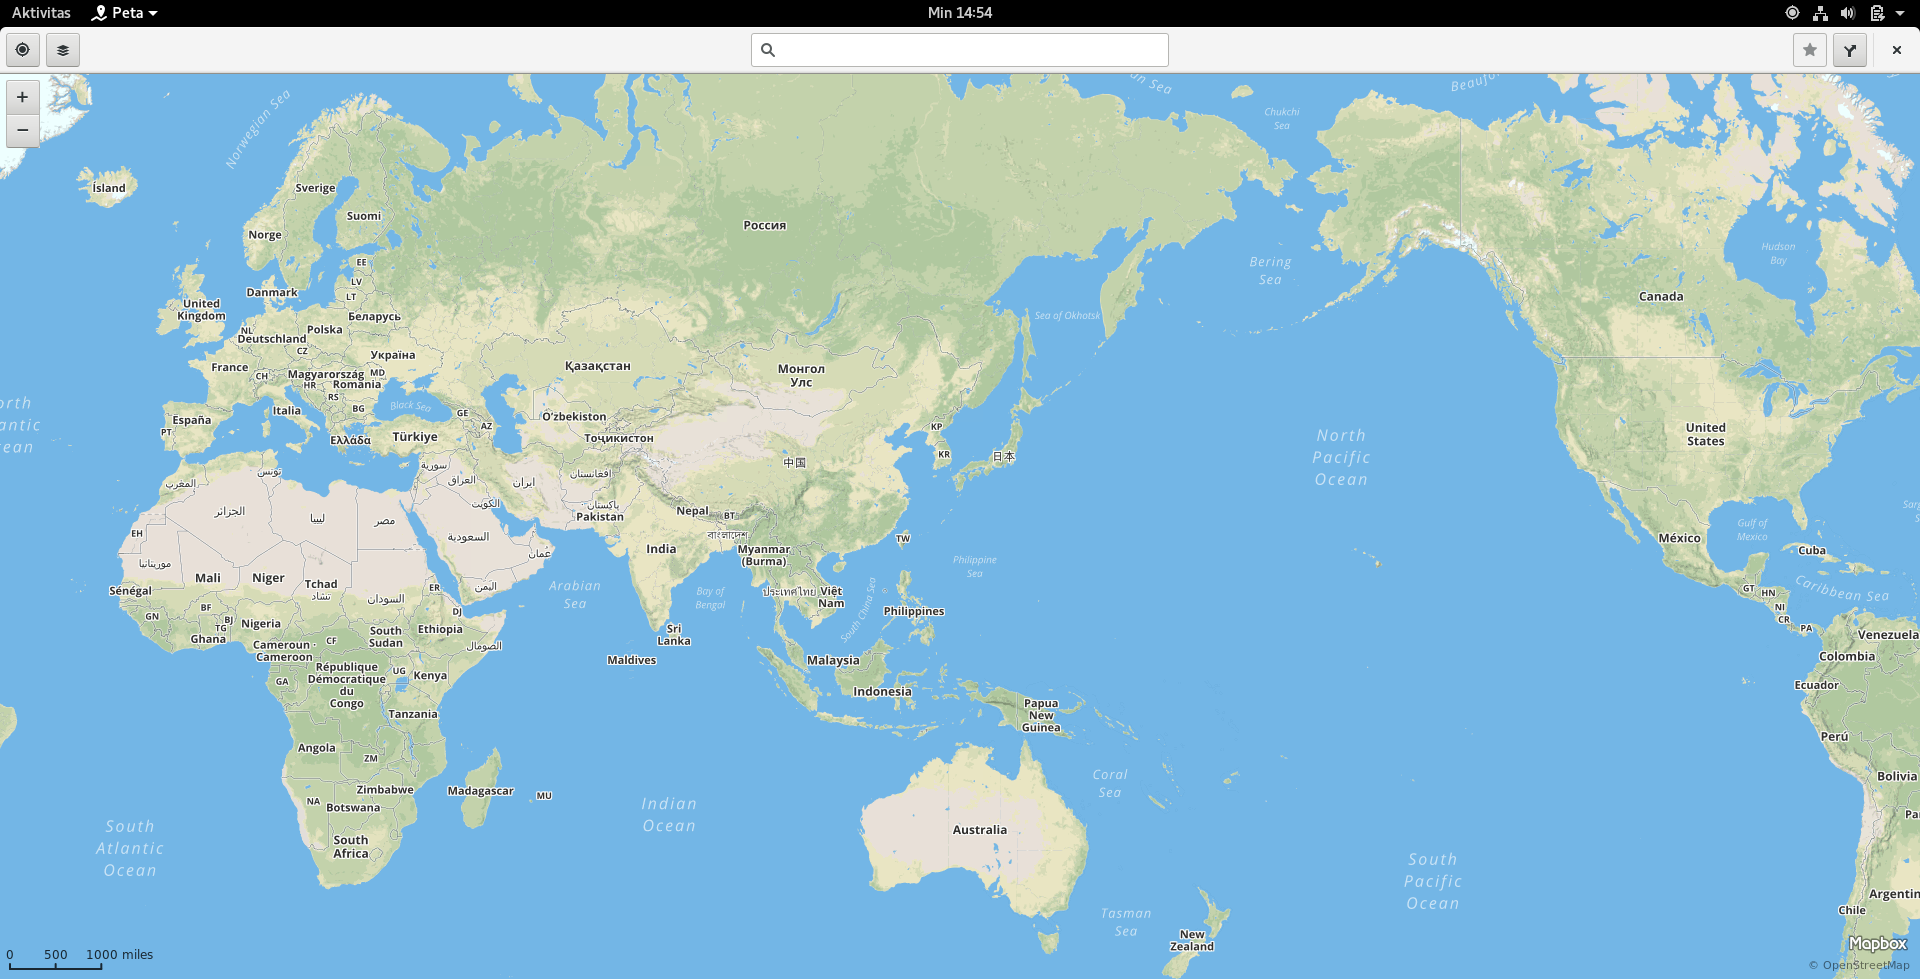
Then, the GNOME Maps will appear.
Congratulations, you have successfully installing and using GNOME Builder. You can also try to build other apps from GNOME available in the GNOME repository (https://git.gnome.org/browse/).
More on GNOME Builder, you can read the documentation at https://builder.readthedocs.io/en/latest/index.html.